使用realsense d415获取相机与物体之间的距离(Python版本)
Published:
使用realsense d415获取相机与物体之间的距离,OS环境为Jetson Nano。
1.在jetson nano安装librealsense和pyrealsense2
在x86_64平台,直接通过pip install pyrealsense2即可安装pyrealsense2,通过python使用librealsense。其他的CPU架构都需要从源代码编译。
(1)断开realsense与jetson nano的连接,因为librealsense源代码中setup_udev_rules.sh文件需要相机与jetson nano处于断开状态。
(2)执行如下指令编译安装librealsense和pyrealsense2
# Installs librealsense and pyrealsense2 on the Jetson NX running Ubuntu 18.04
# and using Python 3
# Tested on a Jetson NX running Ubuntu 18.04 and Python 3.6.9

sudo apt-get update && sudo apt-get -y upgrade
sudo apt-get install -y --no-install-recommends \
    python3 \
    python3-setuptools \
    python3-pip \
	  python3-dev

# Install the core packages required to build librealsense libs
sudo apt-get install -y git libssl-dev libusb-1.0-0-dev pkg-config libgtk-3-dev
# Install Distribution-specific packages for Ubuntu 18
sudo apt-get install -y libglfw3-dev libgl1-mesa-dev libglu1-mesa-dev

# Install LibRealSense from source
# We need to build from source because
# the PyPi pip packages are not compatible with Arm processors.
# See link [here](https://github.com/IntelRealSense/librealsense/issues/6964).

# First clone the repository
git clone https://github.com/IntelRealSense/librealsense.git
cd ./librealsense

# Make sure that your RealSense cameras are disconnected at this point
# Run the Intel Realsense permissions script
./scripts/setup_udev_rules.sh

# Now the build
mkdir build && cd build
## Install CMake with Python bindings (that's what the -DBUILD flag is for)
## see link: https://github.com/IntelRealSense/librealsense/tree/master/wrappers/python#building-from-source
cmake ../ -DBUILD_PYTHON_BINDINGS:bool=true
## Recompile and install librealsense binaries
## This is gonna take a while! The -j4 flag means to use 4 cores in parallel
## but you can remove it and simply run `sudo make` instead, which will take longer
sudo make uninstall && sudo make clean && sudo make -j4 && sudo make install

## Export pyrealsense2 to your PYTHONPATH so `import pyrealsense2` works
echo "export PYTHONPATH=$PYTHONPATH:/usr/local/lib/python3.6/pyrealsense2" >> ~/.bashrc
source ~/.bashrc
(3)测试安装
编写如下的python代码,命名为opencv_viewer_example.py。
## License: Apache 2.0. See LICENSE file in root directory.
## Copyright(c) 2015-2017 Intel Corporation. All Rights Reserved.

###############################################
##      Open CV and Numpy integration        ##
###############################################

import pyrealsense2 as rs
import numpy as np
import cv2

# Configure depth and color streams
pipeline = rs.pipeline()
config = rs.config()

# Get device product line for setting a supporting resolution
pipeline_wrapper = rs.pipeline_wrapper(pipeline)
pipeline_profile = config.resolve(pipeline_wrapper)
device = pipeline_profile.get_device()
device_product_line = str(device.get_info(rs.camera_info.product_line))

found_rgb = False
for s in device.sensors:
    if s.get_info(rs.camera_info.name) == 'RGB Camera':
        found_rgb = True
        break
if not found_rgb:
    print("The demo requires Depth camera with Color sensor")
    exit(0)

config.enable_stream(rs.stream.depth, 640, 480, rs.format.z16, 30)

if device_product_line == 'L500':
    config.enable_stream(rs.stream.color, 960, 540, rs.format.bgr8, 30)
else:
    config.enable_stream(rs.stream.color, 640, 480, rs.format.bgr8, 30)

# Start streaming
pipeline.start(config)

try:
    while True:

        # Wait for a coherent pair of frames: depth and color
        frames = pipeline.wait_for_frames()
        depth_frame = frames.get_depth_frame()
        color_frame = frames.get_color_frame()
        if not depth_frame or not color_frame:
            continue

        # Convert images to numpy arrays
        depth_image = np.asanyarray(depth_frame.get_data())
        color_image = np.asanyarray(color_frame.get_data())

        # Apply colormap on depth image (image must be converted to 8-bit per pixel first)
        depth_colormap = cv2.applyColorMap(cv2.convertScaleAbs(depth_image, alpha=0.03), cv2.COLORMAP_JET)

        depth_colormap_dim = depth_colormap.shape
        color_colormap_dim = color_image.shape

        # If depth and color resolutions are different, resize color image to match depth image for display
        if depth_colormap_dim != color_colormap_dim:
            resized_color_image = cv2.resize(color_image, dsize=(depth_colormap_dim[1], depth_colormap_dim[0]), interpolation=cv2.INTER_AREA)
            images = np.hstack((resized_color_image, depth_colormap))
        else:
            images = np.hstack((color_image, depth_colormap))

        # Show images
        cv2.namedWindow('RealSense', cv2.WINDOW_AUTOSIZE)
        cv2.imshow('RealSense', images)
        cv2.waitKey(1)

finally:

    # Stop streaming
    pipeline.stop()
安装正常会启动一个RGB窗口和Depth图像窗口。
2.测距
import pyrealsense2 as rs
import numpy as np
import math
pipeline = rs.pipeline()
config = rs.config()
config.enable_stream(rs.stream.depth, 1280, 720, rs.format.z16, 30)
config.enable_stream(rs.stream.color, 1280, 720, rs.format.bgr8, 30)
pipeline.start(config)
align_to = rs.stream.depth
align = rs.align(align_to)
try:
while True:
# This call waits until a new coherent set of frames is available on a device
frames = pipeline.wait_for_frames()
#Aligning color frame to depth frame
aligned_frames = align.process(frames)
depth_frame = aligned_frames.get_depth_frame()
aligned_color_frame = aligned_frames.get_color_frame()
if not depth_frame or not aligned_color_frame: continue
color_intrin = aligned_color_frame.profile.as_video_stream_profile().intrinsics
depth_image = np.asanyarray(depth_frame.get_data())
color_image = np.asanyarray(aligned_color_frame.get_data())
#Use pixel value of depth-aligned color image to get 3D axes
x, y = 640, 360
depth = depth_frame.get_distance(x, y)
dx ,dy, dz = rs.rs2_deproject_pixel_to_point(color_intrin, [x,y], depth)
distance = math.sqrt(((dx)**2) + ((dy)**2) + ((dz)**2))
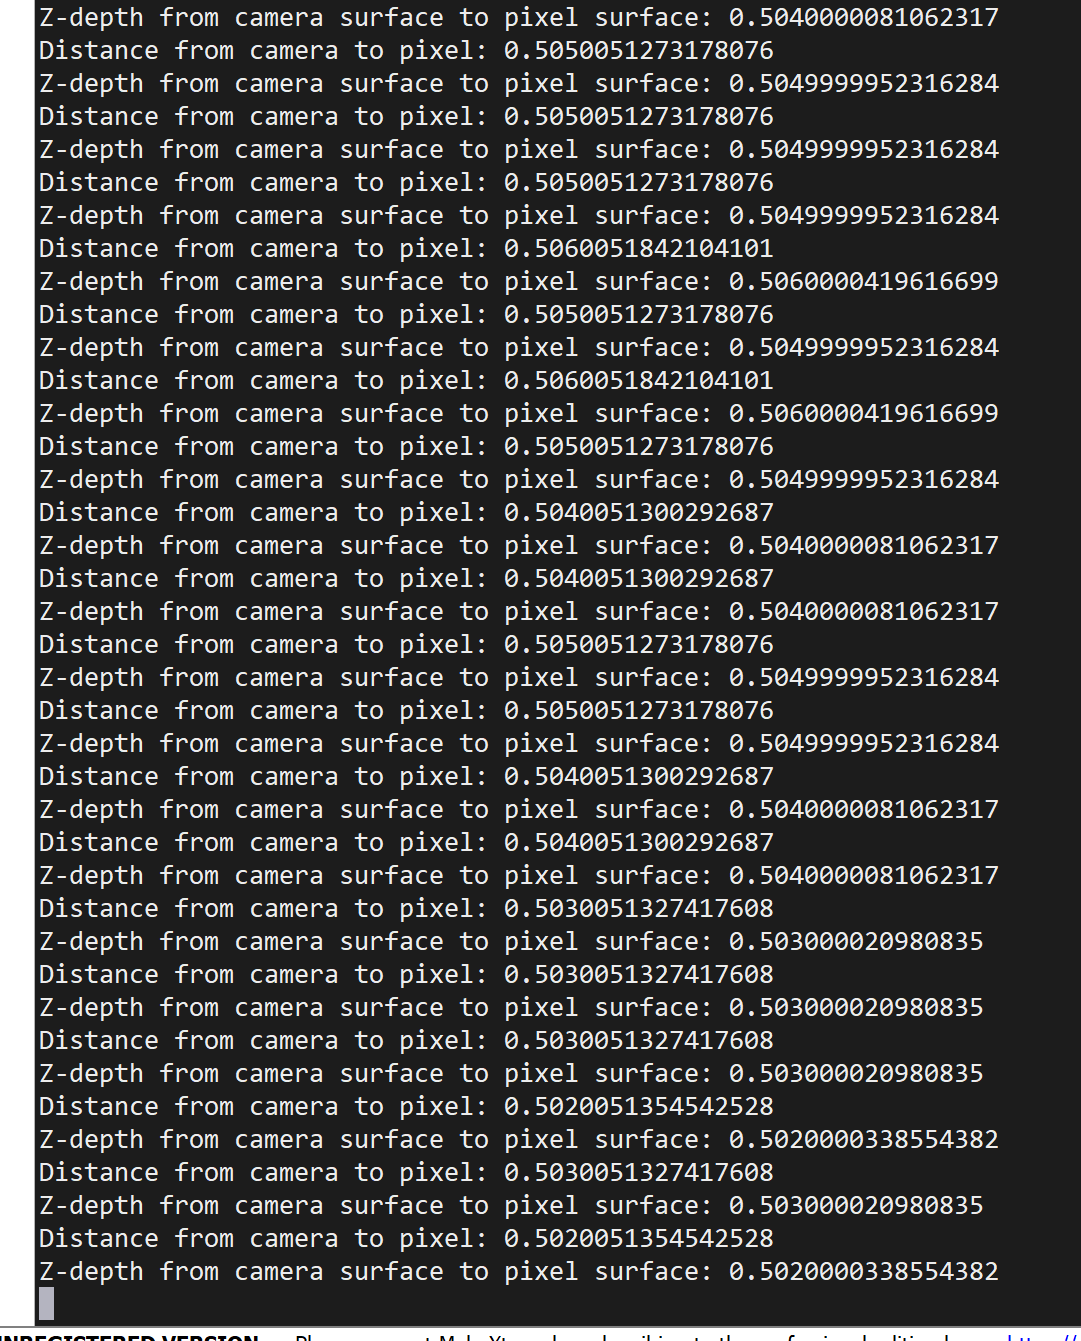
print("Distance from camera to pixel:", distance)
print("Z-depth from camera surface to pixel surface:", depth)
except Exception as e:
print(e)
pass
finally:
pipeline.stop()
代码来源见讨论How to measure the distance from camera to a pixel on the camera feed? #6749
如果运行代码出现Couldn't resolve requests错误,将realsense插在USB3.x的接口即可。具体见讨论Couldn’t resolve requests #2818
3.实验
使用ipad作为目标物,使用卷尺测量实际距离,此时卷尺的长度是50cm。 
代码返回的距离与卷尺相差无几。